
MyHDA
About MyHDA
After logging in to Health Data Australia (HDA) using your AAF credentials, you'll gain access to your MyHDA user profile page and unlock the full functionalities of HDA. MyHDA comprises four sections:
My saved searches
Allows you to organise, review and refresh your saved search queries.
My saved records
A centralised section to view the datasets that you bookmarked before.
My saved requests
Allows you to resume editing your unfinished and unsubmitted data requests. Once you started filling in an Express of Interest (EOI) form, you can save it at anytime and come back to resume editing it in the "My saved requests" table.
My submitted requests
Allows you to check the status of the submitted data requests, and take actions accordingly.
Each is designed to provide convenient access and simple management of your saved datasets, searches, and data access requests.
The detailed features and available functionalities will be introduced in each tab accordingly.
The example below shows a sample MyHDA page for a user:
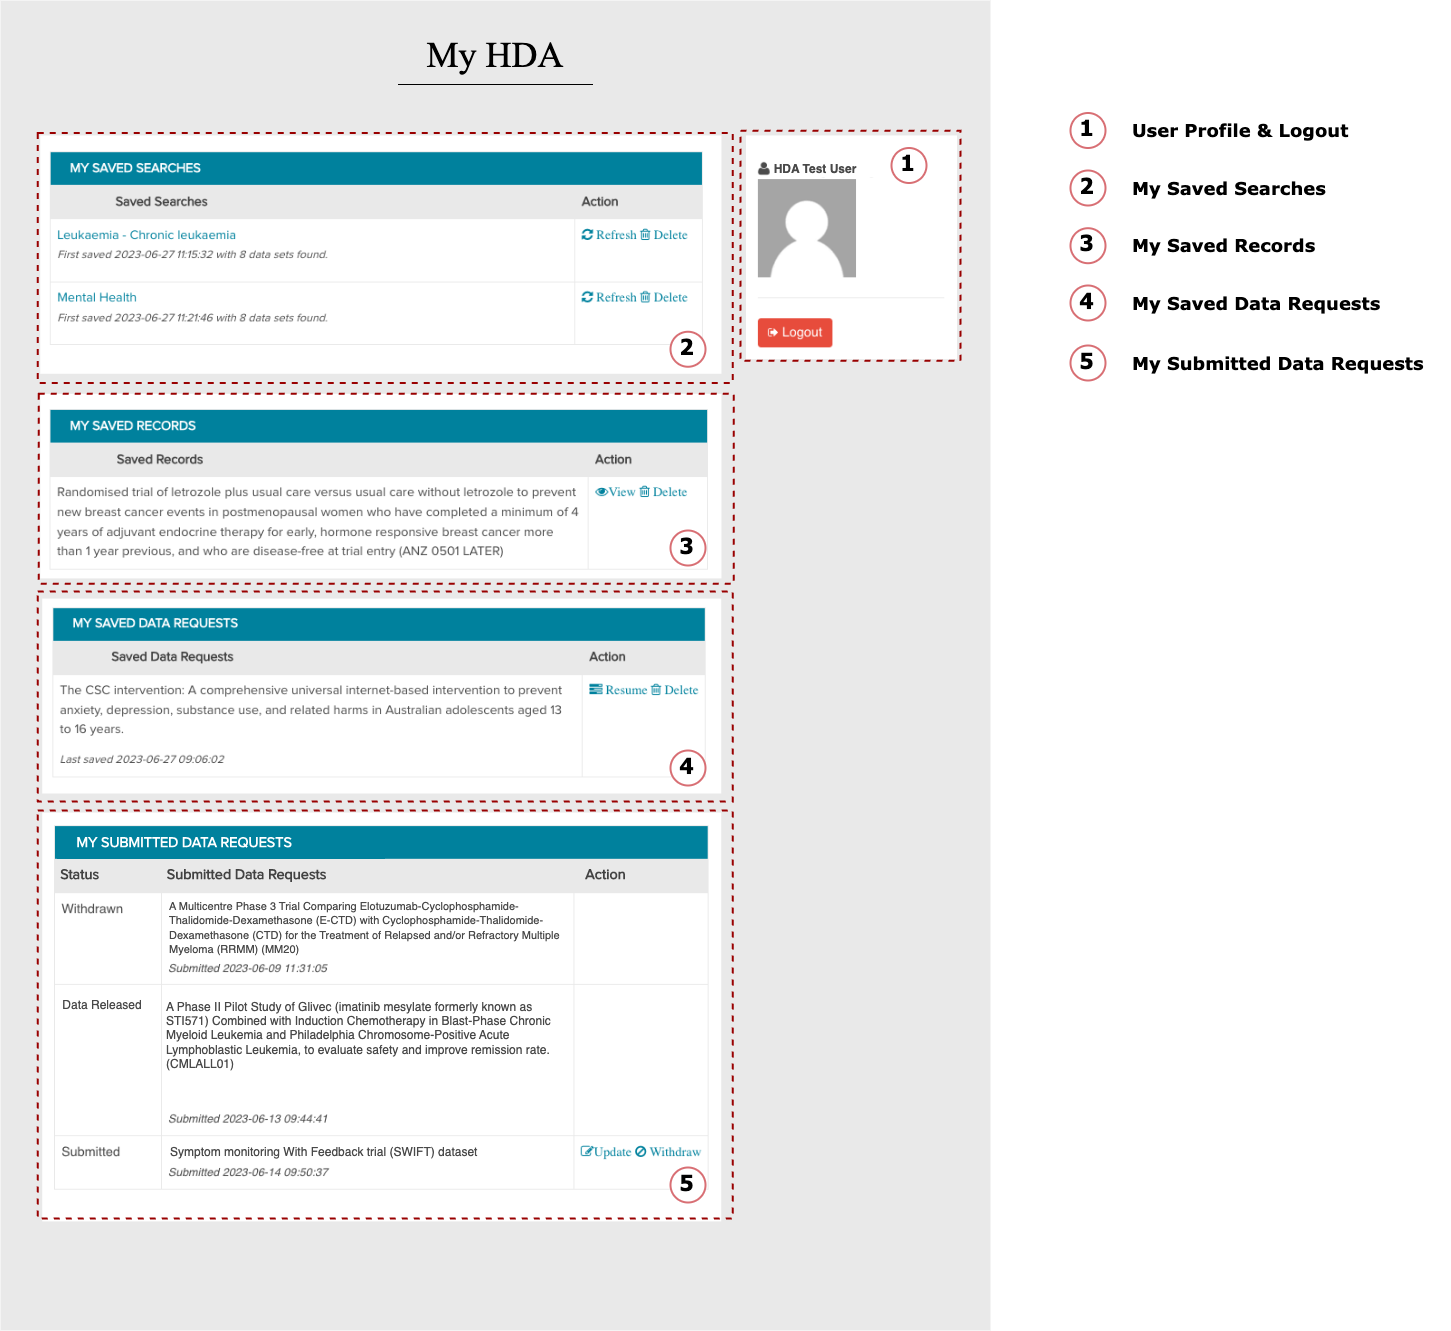
Fig 1.1 A sample MyHDA page
My Saved Searches
Overview
Both simple keyword searches and complicated search queries can be saved via the "Save Search" button on the search result page. Once the search has been named and saved, you can find the entry in the "My Saved Searches" table along with relevant information. Each entry displays the search name, timestamp, and the number of results returned when the search was initially saved. You can check all the returned records based on the search query, refresh to see the latest results, and delete the saved search if it's no longer needed.
For instructions on how to save a search, see: Search In HDA
View the Search Results
To view the results that are returned from this search query, simply click the name of the saved search. This action will direct you to a search result page where you can explore all the health datasets that match the search conditions.
Delete the Saved Search
To delete any saved search, simply click the "Delete" button on the same row. A confirmation pop-up window will appear to ensure you want to proceed with the deletion:
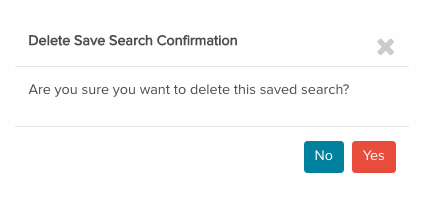
Fig 2.1 The confirmation pop-up window
Click "Yes" and wait for the delete operation to finish. Once the pop-out window disappears from the screen, you'll find your previously saved search has been successfully deleted.
Refresh the Saved Search
Refreshing a saved search allows you to check if there are any new health datasets that match the saved search criteria. To refresh a saved search, simply click the "Refresh" button on the same row.
You'll find that an additional caption with the date of the refresh and the number of results has been added under the caption for when it was first saved.

Fig 2.2 An example of the refreshing timestamp and number of datasets found
If you have refreshed this saved search previously, clicking "Refresh" will update this line of caption without adding any new lines.
My Saved Records
How to Save a Record
"My Saved Records" allows you to bookmark any health dataset that you're interested in and would like to come back to later. To save a record, simply click the "Save to MyHDA" button on the record view page.
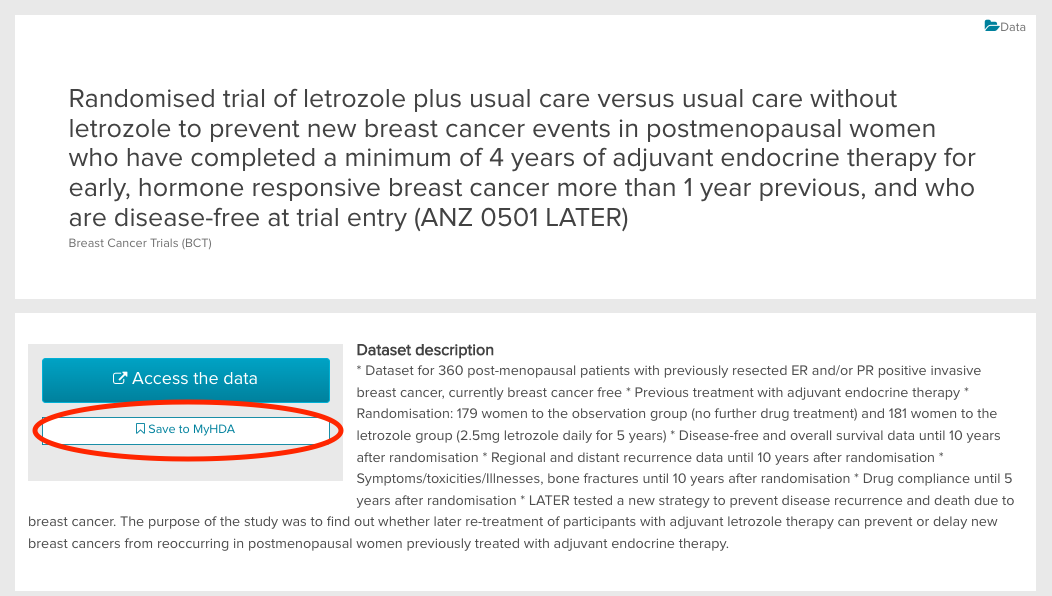
Fig 3.1 The “Save to MyHDA“ button
After this operation, you will find that the text on the button is updated to "Saved to MyHDA", indicating that this record has been successfully saved.

Fig 3.2 The “Saved to MyHDA“ button
You will find the corresponding entry in the "My Saved Records" table with 2 action buttons in the same row: View and Delete.

Fig 3.3 The action buttons
How to View a Saved Record
To view any record that you previously saved, simply click the "View" button, and you'll be redirected to the record view page of this health dataset.
How to Delete a Saved Record
To delete any saved record that you no longer want to keep, simply click the "Delete" button. A confirmation pop-up window will appear to ensure you want to proceed with the deletion:

Fig 3.4 The confirmation pop-up window
Click "Yes" and wait for the delete operation to finish. Once the pop-out window disappears from the screen, you'll find your previously saved search has been successfully deleted.
My Saved Data Requests
How to Edit a Saved Data Access Request
As mentioned in How to Request Access to a Health Dataset, unfinished data access requests can be saved in the "My saved data requests" section. You'll find that the last saved timestamp is also captured below the dataset title.
To resume editing the EOI form, simply click the "Resume" button. You'll be redirected to the unfinished EOI form with all the saved changes.
Throughout the editing process, you can save and resume editing the EOI form as many times as needed. Once you submit the request, it will be moved to the "My submitted data requests" section.

Fig 4.1 My saved data requests
How To Delete a Saved Data Acess Request
To delete any saved requests that you no longer want to process, simply click the "Delete" button. A confirmation pop-up window will appear to ensure you want to proceed with the deletion:
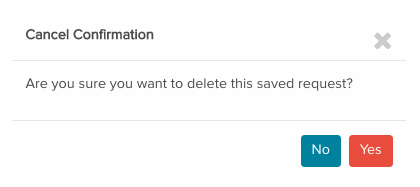
Fig 4.2 The confirmation pop-up window
Click "Yes" and wait for the delete operation to finish. Once the pop-out window disappears from the screen, you'll find your previously saved request has been successfully deleted.
The differences between "my saved data requests" and "my submitted data requests":
"My Saved Data Requests" section stores only the data access requests that have not been submitted, whereas "My Submitted Data Requests" section contains the requests that have been submitted. If the "Update" option is available for a submitted data request, you can make edits and save changes to the previously submitted EOI form. However, the saved EOI form will not create a new entry in "My Saved Data Requests". To resume editing a previously submitted request, simply click "Update" again.
My Submitted Data Requests
The "my submitted data requests" table consists of 3 columns: Status, Submitted Data Requests, and Action. The Status column represents the current status of the request, and the action buttons will appear in the Action column if available. All the request statuses and corresponding actions are listed in the table below:
Status | Actions Available |
Submitted | Update |
Review In Progress | NA |
Modifications Requested | Update |
In-principle Approval | NA |
Denied/Discontinued/Withdrawn/Data Released | NA |
If your request has recently been submitted and hasn't undergone the review process, you have the option to update the EOI form if any information was missing or withdraw the request. However, once the request is under review or has received in-principle approval, you will not be able to make any changes to the EOI form.
In the event that the data custodian requests modifications, you will also have the available options to either update the EOI form accordingly or withdraw the request if you choose not to proceed with the required modifications.
When the status of a request is marked as Denied, Discontinued, Withdrawn, or Data Released, it indicates that the request has been resolved, and there will be no further updates regarding that specific request. If one of your requests has been denied or discontinued but you still wish to access the dataset, you can navigate to the record view page and submit a new data access request again.
Note that all the entries in the "my submitted data requests" section will be kept and the delete option is not available.
For more information about the request access workflow, see: Data Access Process