
How to Request Access to a Health Dataset
This document serves as a guide to provide an overview of the steps involved in submitting a request, the essential information required in the Expression of Interest (EOI) form, and instructions on how to monitor the status and receive updates regarding your request.
Overview
Once you have browsed the health dataset of your interests and wish to utilise it for your own research project, you can initiate a request for access through Health Data Australia (HDA) by filling in an Express of Interest (EOI) form after logging in with your AAF credentials. HDA offers a streamlined and user-friendly process for requesting access to all the health datasets available. Upon submitting your request, you will receive automated email notifications to keep you informed of any updates regarding your request. Additionally, you can conveniently track the progress and status of your request by accessing your MyHDA profile page.
Request Access
To initiate the process of accessing a health dataset in HDA, you need to log in using your AAF credentials first. Once logged in successfully, simply navigate to the record view page of the desired dataset and click the "Access the data" button.
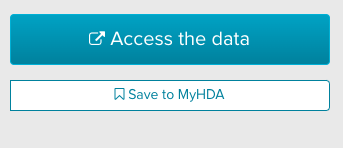
Fig 1.1 The “Access the data“ button on the record view page
If you haven't logged in to the HDA portal prior to the request, you'll be redirected to the Keycloak authentication page to proceed.
Express of Interest (EOI) Form
After clicking the "Access the data" button, you should be redirected to a form with multiple tabs. Each tab contains a list of requested information for you to provide. The mandatory fields have a red asterisk (*) next to their names.
Auto-filled Fields
In the EOI form, certain fields will be automatically filled to enhance user experience and minimize manual input errors. These fields include:
Dataset DOI: the DOI of the health dataset you request access to.
Dataset title: the title of the health dataset you request access to.
Researcher name: Your name as included in the AAF credential.
Email: Your email address as included in the AAF credential.
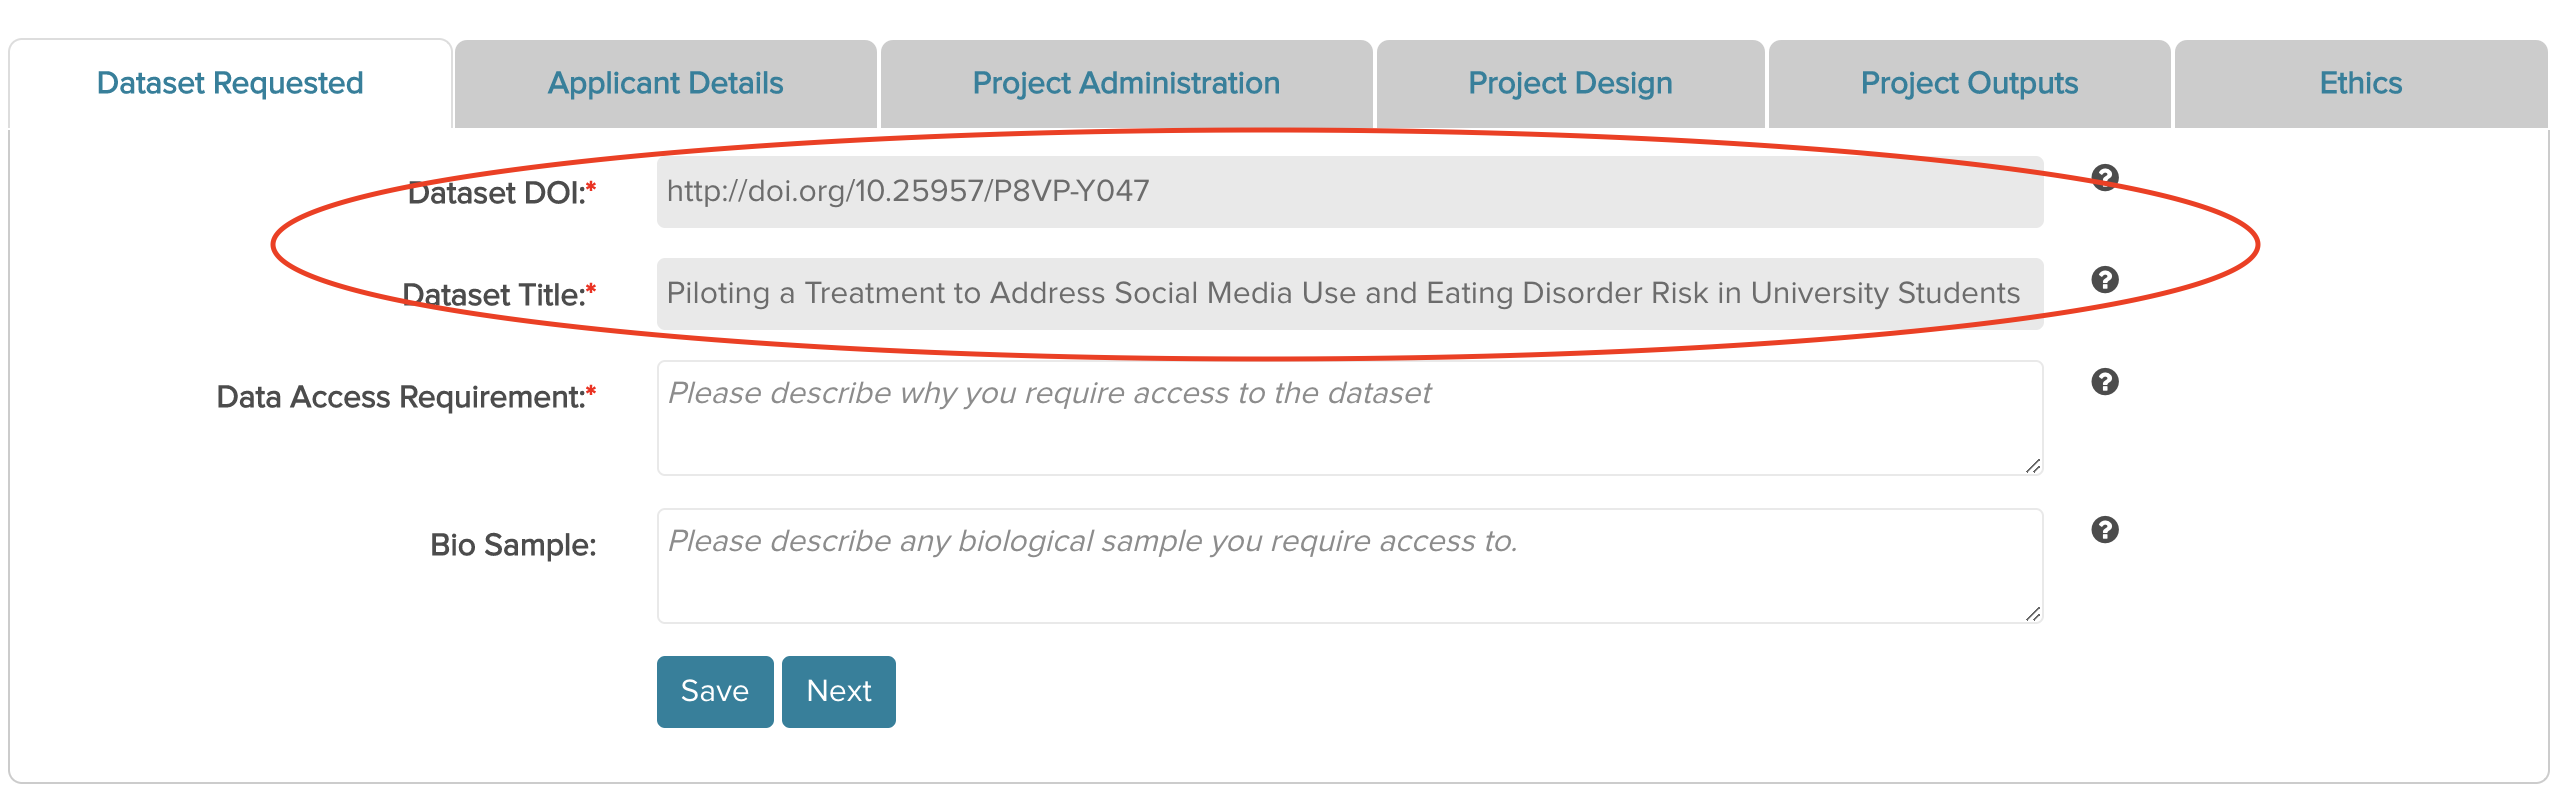
Fig 2.1 The dataset information has been automatically filled
In addition to these fields, you must complete all the required fields to submit your data access request. To assist you in providing accurate information, tooltips on the right-hand side of each textbox offer detailed explanations of each field. To learn more about each field, simply hover your cursor over the corresponding tooltip.

Fig 2.2 The tooltip and the supportive information it provides
Upload a File
In the last tab of an EOI form, if you selected "Yes" for the first entry: "Do you have ethics approval?" You will need to upload your ethics approval for your project. Click "Choose file" to select and upload the appropriate document.
Please note that the file size must not exceed 10MB, as any file larger than this will fail to upload.
Submit a Data Access Request
After completing all the required fields, you can tick the two checkboxes for the certification and submit your data access request. Clicking "Submit" should successfully submit your request and redirect you to a page displaying all the information provided in the EOI form.
At the top of the page, you will find a notification informing you to track the status and updates of your request through MyHDA:
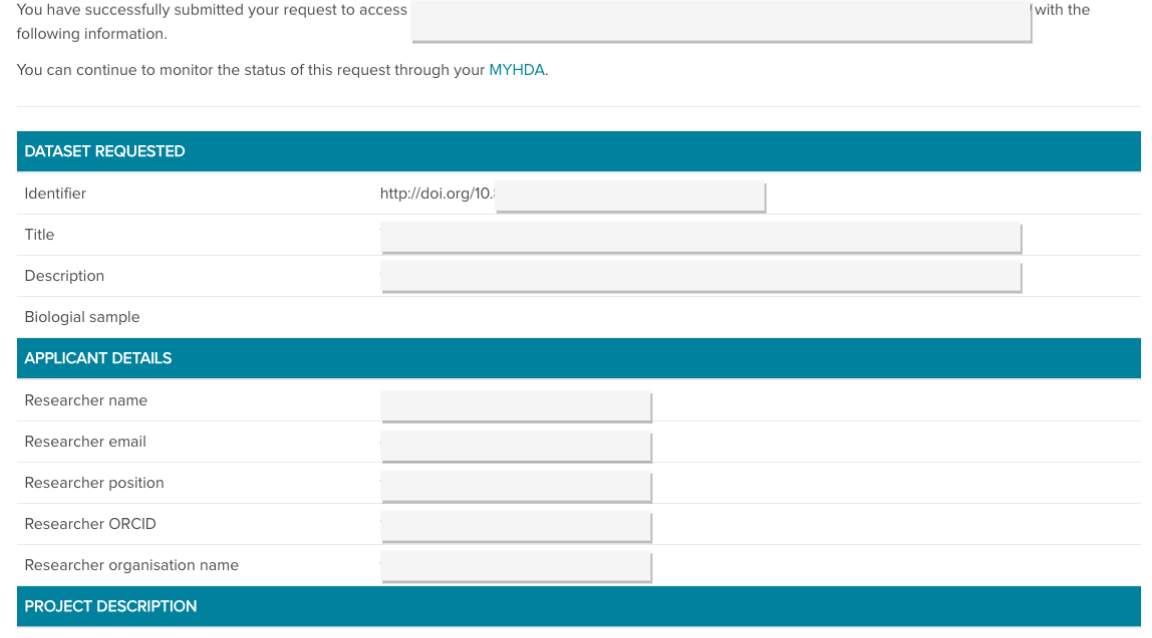
Fig 3.1 An example of a successful submission
For instructions about how to monitor the status and updates for a submitted data access request, please refer to: MyHDA—My Submitted Data Requests.
Email Notification
After the successful submission, you will receive an email confirming the receipt of your data access request. Subsequent notifications will be sent whenever there are updates. An example email is provided below:
Request ID: HDA-001
Status: Submitted
Dataset name: The title of the requested dataset
DOI: http://doi.org/10.80298/TEST_DOI_001
----
Hello {your email address},
Thank you for submitting the above data request. The appropriate contacts have been notified and you will receive an update once the review of your request has commenced.
Issue number assigned to your request: HDA-001.
Please login to MyHDA to track the status of your request.
Please do not reply to this email. Thank you.
Trouble Shooting
Failed to Submit a Request
If any required field is empty or has an invalid value, the submission will fail and error messages will pop out below the buttons on the EOI form, indicating the reason(s) for the failure.
Additionally, a red warning sign will be displayed on each tab that contains missing or invalid fields. When navigating to the respective tab, you will find detailed error messages below each field.
Fig 3.2 The warning sign on the tab and the error message under the buttons
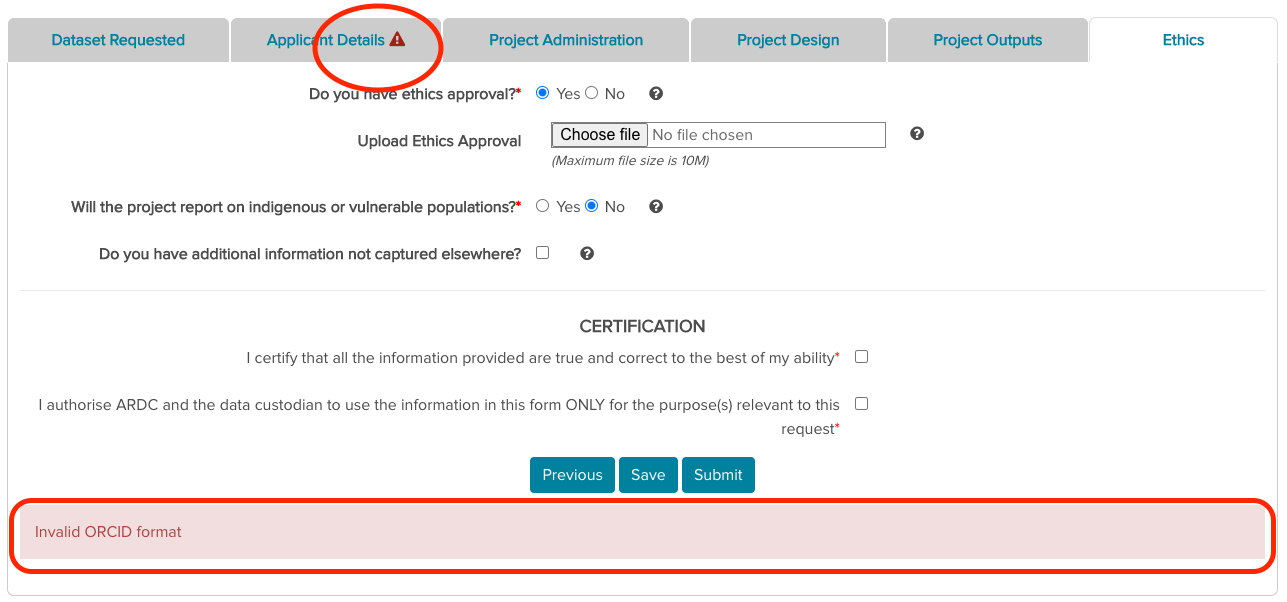

Fig 3.3 The detailed error message under every missing/invalid field
Didn't Receive Any Email Notification
Troubleshooting email notification issues can be challenging as the notification's behaviour varies depending on the mailbox. If you have not received any email notifications in your inbox, we recommend the following steps:
Double-check that the email information provided in your AAF credentials is correct.
Check your "Spam" or "Junk" folder for any misplaced emails.
If the issue persists, please contact hesanda@ardc.edu.au for assistance.
When an Active Request Exists
Please note that you won't be able to raise a new data access request if you have raised a request previously AND the request hasn't been resolved. Clicking the "Access the data" button will trigger the following message to be displayed:
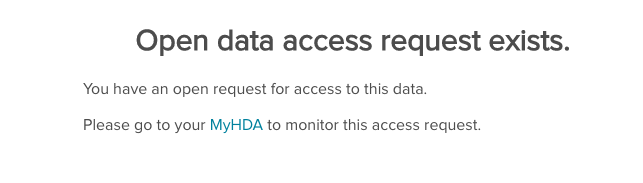
Fig 3.4 The notification about an existing open data access request
You can click the link to MyHDA to review the existing active request for this dataset.
Save a Data Access Request
Given that completing an EOI form can be a time-consuming process, HDA offers the option to save an unfinished data access request for later. By clicking the "Save" button, you can preserve any changes you want to keep.
To continue editing the EOI form, simply access the "My Saved Data Requests" section on your MyHDA profile page. For more detailed instructions on how to manage your saved requests, See: MyHDA—My Saved Data Requests.
When an EOI form has been saved to MyHDA, any uploaded files will be associated with the form. You can remove an uploaded file by clicking the delete button next to its name.